
Tiling can totally transform a space—from drab walls and floors to Pinterest-worthy perfection. Whether it’s a kitchen backsplash, bathroom floor, or shower wall, tiles add style, texture, and value. But let’s be real: a successful tile project isn’t just about the tile you pick—it’s all about the prep.
Jumping into tiling without prepping properly can lead to uneven lines, loose tiles, or worse—cracking and costly redos. Don’t worry—we’re not here to overwhelm you. We’re here to break it down. So before you start mixing mortar or popping open those boxes of tile, here are 8 important things to do first.
Let’s dive in and get your tile game strong, right from the start.
1. Measure (Twice), Plan (Once)
Before you buy a single tile or start peeling off old finishes, you need a plan—and that plan starts with precise measurements.
What to Do:
- Measure the height and width of your space (walls or floors).
- Multiply to get total square footage.
- Add 10–15% extra to cover waste, cuts, and future repairs.
- Sketch a simple layout (graph paper helps!) to plan tile pattern and placement.
Why It Matters:
A clean layout means fewer awkward cuts, better visual balance, and no mid-project tile shortage panic.
Pro Tip: Center your design. Always start in the middle of a wall or floor and work outward for symmetry.
2. Choose the Right Tile (and Know What You’re Getting Into)
Not all tiles are created equal. Some are better for walls, others for floors. Some are super DIY-friendly, others are a bit more advanced.
What to Consider:
- Material: Ceramic is great for walls and easy to cut. Porcelain is tougher (and denser) for floors. Natural stone looks amazing but requires sealing.
- Finish: Glossy tiles are slippery on floors but great for backsplashes. Matte or textured tiles offer more grip.
- Size: Large-format tiles mean fewer grout lines (yay), but more precise leveling.
Don’t Forget:
Check the box label for PEI rating (durability), slip resistance (COF rating), and indoor/outdoor suitability.
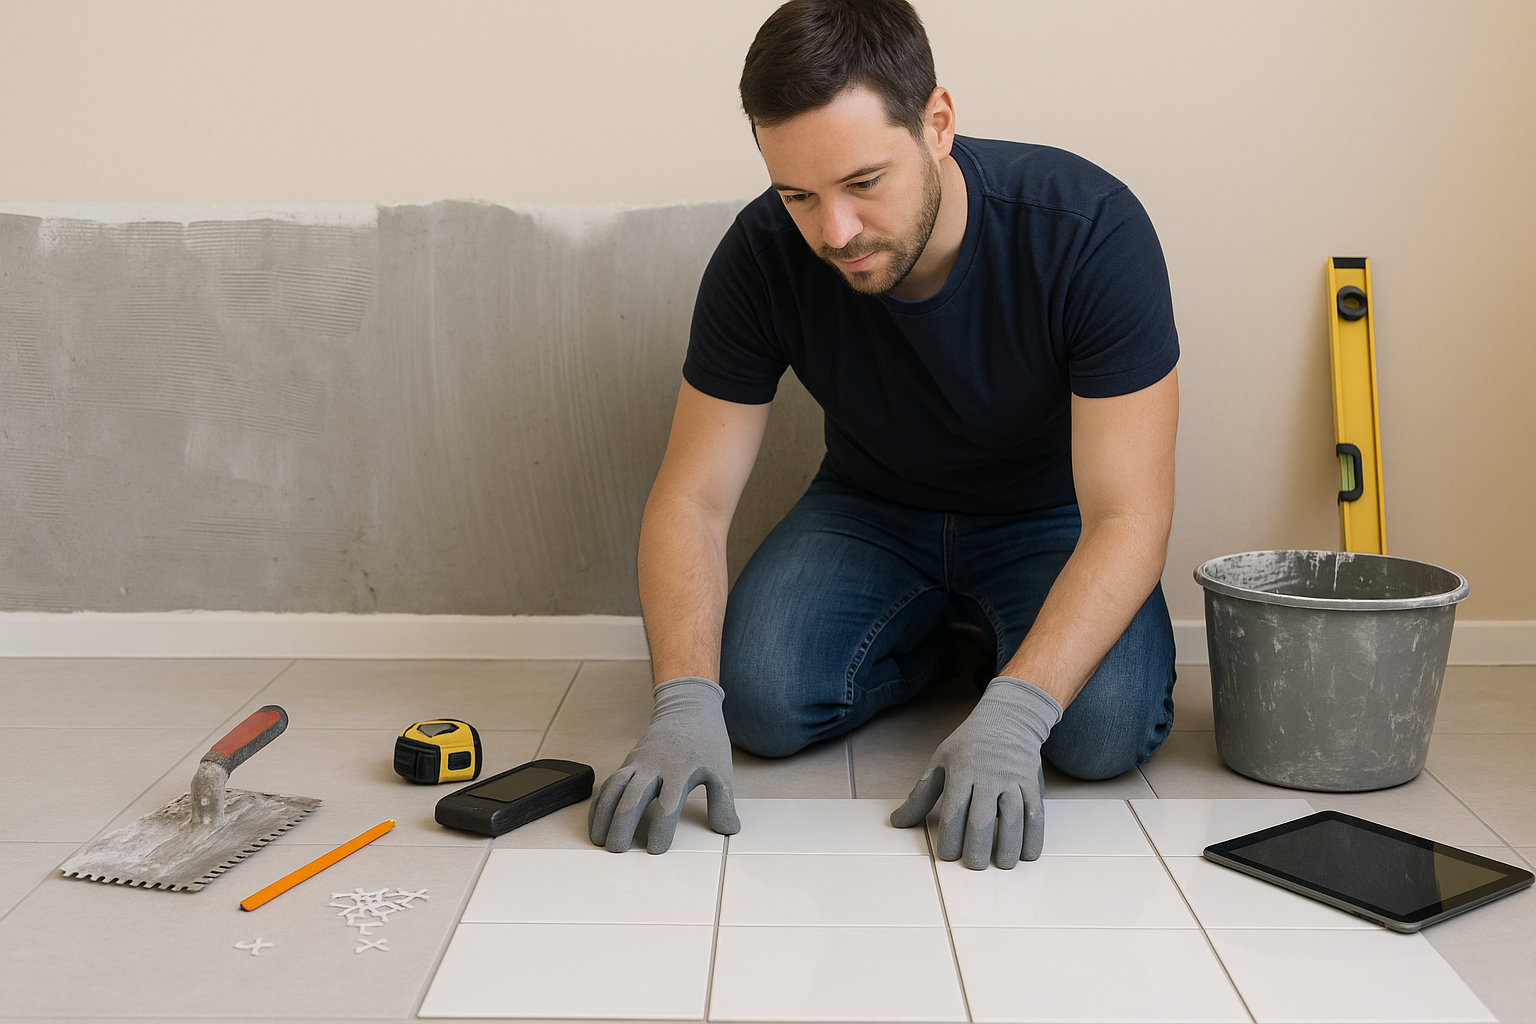
3. Gather Your Tools & Materials
The last thing you want is to stop mid-project to hunt for a notched trowel or realize you don’t have spacers. Make sure you have everything before Day 1.
Basic Tile Tools:
- Tile cutter or wet saw (you can rent this)
- Trowels (notched and flat)
- Grout float
- Tile spacers
- Level or laser level
- Mixing bucket and paddle
- Sponge and rags
- Tile adhesive (mortar or mastic)
- Grout and sealer (if required)
Bonus Tip: Buy a few extra sponges—you’ll thank yourself during cleanup.
4. Prep the Surface (No Shortcuts!)
The biggest mistake new tilers make? Assuming any surface is “good enough.” A clean, flat, stable surface is non-negotiable.
If You’re Tiling a Wall:
- Remove old tile, wallpaper, or peeling paint.
- Fill holes and sand any bumps.
- Ensure the surface is dry, clean, and level.
If You’re Tiling a Floor:
- Remove baseboards and old flooring materials.
- Check for level with a long level or straightedge.
- Fill low spots or use a self-leveling compound if needed.
- For plywood subfloors, use cement backer board (not drywall!).
Pro Tip: Vacuum and wipe everything down so adhesive sticks well.
5. Check for Moisture or Movement
Tiling over damp drywall or an unstable subfloor is asking for trouble.
Moisture Checklist:
- In wet zones (bathroom, kitchen, laundry), use cement board or waterproof membrane like RedGard.
- Check for leaks or signs of moisture around pipes, sinks, and walls.
- Don’t tile over drywall in showers—just don’t.
Stability Checklist:
- No squeaks or bounce in floors.
- Wall studs and backer boards are secure and well-screwed.
If your base isn’t solid, your tile won’t be either.
6. Dry Lay the Tiles
Before adhesive goes down, do a “dry run” by laying out your tiles on the floor or holding them up against the wall.
What This Helps You See:
- Where cuts will go
- If the pattern flows nicely
- Whether you need to shift the centerline to avoid slivers on one edge
Take time to step back and adjust. It’s way easier to fix now than when tiles are locked into mortar.
Pro Tip: Use painter’s tape or a chalk line to mark centerlines and reference points.
7. Choose the Right Adhesive and Grout
Mortar, mastic, thinset—what’s the deal? It depends on your project.
Adhesive Options:
- Thinset mortar: Best for floors and wet areas. Comes in powdered form; mix with water.
- Pre-mixed mastic: Convenient for walls, but not for wet zones like shower walls or floors.
- Large format mortar: For heavy or oversized tiles (usually 12×12 or bigger).
Grout Choices:
- Sanded grout: For grout joints over 1/8 inch.
- Unsanded grout: For narrow joints and delicate tiles like glass.
- Epoxy grout: More stain- and water-resistant, but harder to work with.
And yes—some grout needs sealing. Read the label!
8. Plan for Time, Mess & Cleanup
Tiling is a process—and it’s messier than most people think. Adhesive dries fast. Spacers get everywhere. And grout? It gets in all the places.
Set Yourself Up for Success:
- Clear the space completely.
- Lay down drop cloths and painter’s tape to protect surfaces.
- Set up a cutting station outside or in the garage.
- Have buckets of clean water ready for wiping off grout haze.
Reality Check: Tiling projects can take 2–3 days (or more), depending on drying time between steps.
Bonus: Mistakes to Avoid Before You Tile
| Mistake | Why It’s a Problem | Fix |
|---|---|---|
| Skipping surface prep | Leads to uneven, cracked tile | Level and clean everything first |
| Not accounting for grout lines | Tiles won’t fit the space as expected | Use spacers when measuring |
| Using wrong adhesive | Poor bonding, tiles fall | Match mortar to tile type |
| Rushing grout | Weakens structure, uneven finish | Let tile set fully before grouting |
| Not sealing grout (if needed) | Stains and water damage | Seal once grout cures |
FAQs: Prepping for a Tile Project
Can I tile over old tile?
Yes, if the old tile is firmly adhered, level, and clean. Use a bonding primer and the right thinset.
Do I need to seal tile before grouting?
Only if you’re using porous stone (like marble or travertine). Most ceramic and porcelain don’t require pre-sealing.
What’s the easiest tile pattern for beginners?
A classic subway tile in a running bond (staggered brick) or straight grid pattern. Avoid herringbone or hex unless you’re ready to do lots of cuts.
How long should I wait before walking on or grouting tile?
Usually 24 hours for adhesive to cure. Check your product’s instructions.
Conclusion: Prep Now, Tile Confidently
Tiling is one of those projects where doing the boring stuff first really pays off. Measuring carefully, checking your surfaces, and dry-laying tiles might not feel exciting, but it’s the secret sauce behind professional-looking results.
So don’t rush into it. Follow these 8 steps, gather your tools, and then tile with confidence. Your future self (and your beautifully tiled space) will thank you.